Devoptiv
July 3, 2026
|15 min to read
|
Every founder starts with the same conviction: this idea is going to work. The data tells a harder story. Startup failure research from CB Insights, built on post-mortem analysis of hundreds of failed companies, has long pointed to "no market need" as the single biggest reason startups die, a figure often cited around 42%. More recent CB Insights research reframes this as "poor product-market fit," putting the number at 43%, and notes that running out of cash, the reason founders usually give first is typically just the final symptom of a company that never found real demand.
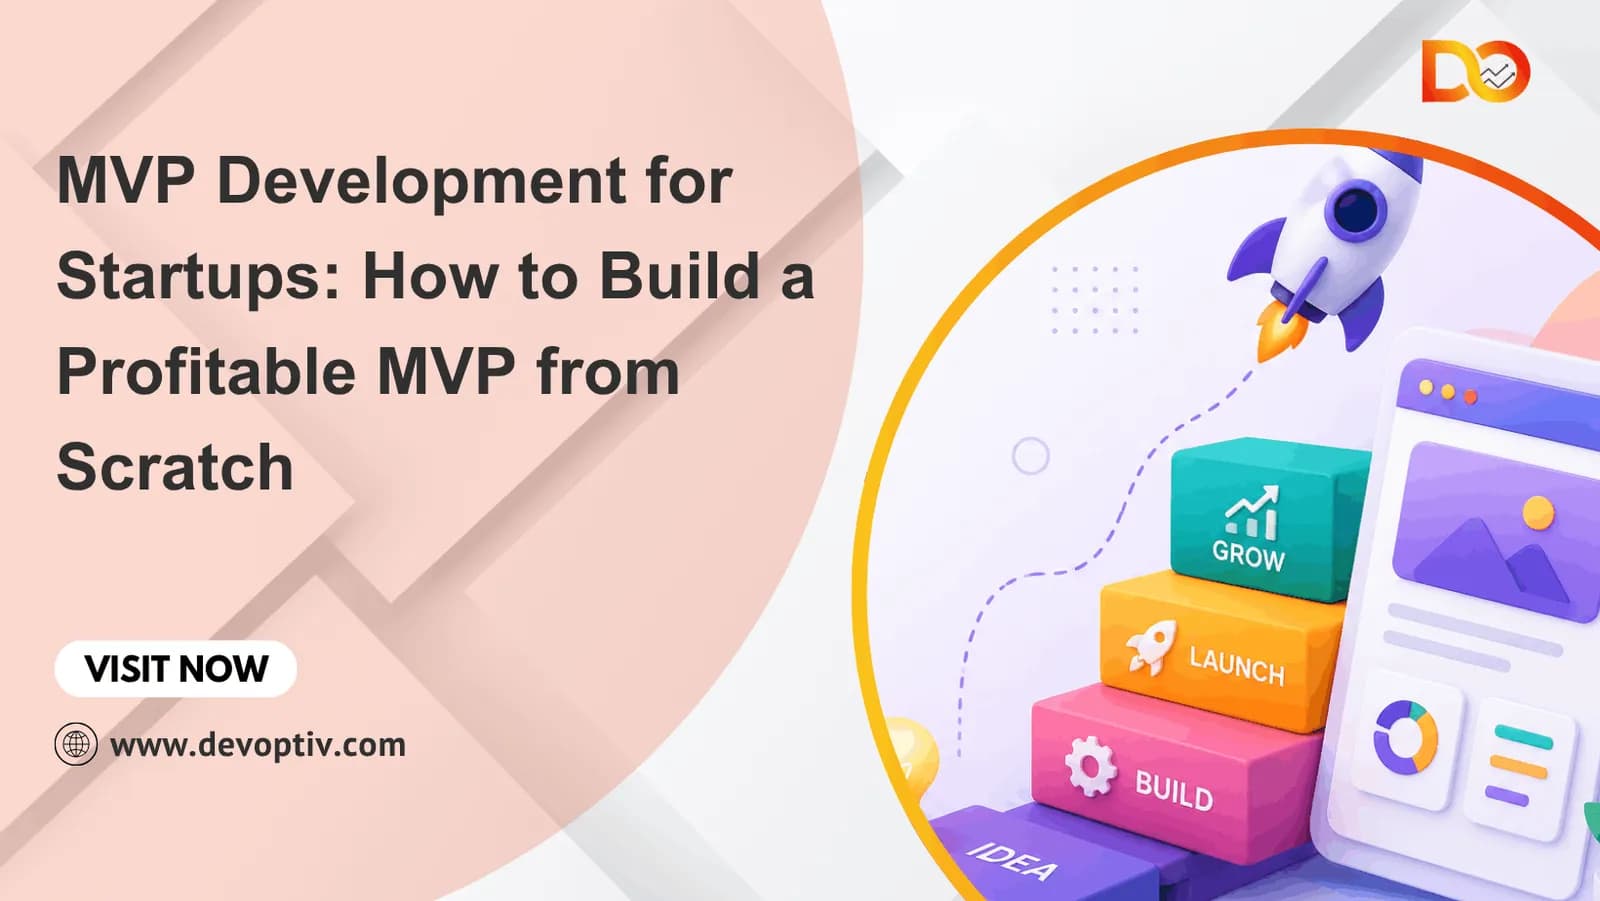
That's exactly the problem the MVP development process exists to solve. Instead of spending a year and your entire budget building a fully-featured product, you build the smallest version that can test your core assumption, and you find out early, cheaply, and with real user data whether you're on the right track. This is also why many founders turn to dedicated MVP development services teams who specialize in exactly this kind of lean, validation-first build rather than trying to plan and execute the entire process alone.
This guide walks through everything you need to know about the MVP development process in 2026: what an MVP actually is, why it matters, a complete 12-step framework for building one from scratch, realistic timelines, and what it costs.
What is MVP?
MVP stands for Minimum Viable Product. It's the simplest version of a product that includes just enough core features to be usable by early customers, who can then provide feedback for future development.
An MVP is not a cheap or broken version of your product. It's a strategic version deliberately narrow in scope, but fully functional in the areas it does cover. If your app promises to help freelancers track invoices, your MVP should let a freelancer create and send a real invoice. It doesn't need multi-currency support, recurring billing, or a mobile app on day one but the core loop has to actually work.
Characteristics of a Successful MVP
A well-built MVP shares several traits regardless of industry:
Solves one core problem well. It doesn't try to be everything to everyone; it nails a single, painful problem for a specific user.
Functional, not perfect. The UI doesn't need to be polished, but the core feature must work reliably.
Fast to build and ship. Weeks or a few months, not a year.
Measurable. It's instrumented so you can track how real users actually behave, not just how they say they'll behave.
Feedback-ready. There are clear channels (in-app prompts, surveys, direct outreach) to collect user input.
Scalable foundation. The underlying architecture can grow with the product rather than needing a full rebuild the moment you gain traction.
Why Startups Begin with an MVP
Building an MVP isn't just a technical shortcut, it's a risk-management strategy. Here's why it's become the default approach for MVP in startups and increasingly for internal products at established companies too:
Lower financial risk. You spend a fraction of a full build budget before you know if the idea has legs.
Faster time to market. You start learning from real users in weeks instead of after a year of silent development.
Real validation, not opinions. Actual usage data beats internal debates about what customers "probably" want.
Easier fundraising. Investors respond far better to a working product with real users and metrics than to a pitch deck and a promise.
Room to pivot. If the first version doesn't land, you've lost weeks, not years and you can adjust direction with real learnings in hand.
MVP vs Prototype vs Proof of Concept
These three terms get used interchangeably, but they answer different questions at different stages:
Proof of Concept (PoC) | Prototype | MVP | |
Question it answers | Can this be built at all? | What will this look and feel like? | Will real users actually use and pay for this? |
Audience | Internal team, technical stakeholders | Internal team, investors, early testers | Real, external end users |
Functionality | Minimal, often just a technical test | Clickable but often non-functional | Fully functional core feature set |
Goal | Validate technical feasibility | Validate design and user flow | Validate market demand |
Typical output | Code snippet, demo, or internal test | Figma prototype or clickable mockup | Live, usable product |
A PoC proves something is technically possible. A prototype shows how it might look and feel. An MVP proves people actually want it. Many teams move through all three in sequence but for most startups with limited runway, jumping straight from a validated idea to an MVP is the faster, leaner path.
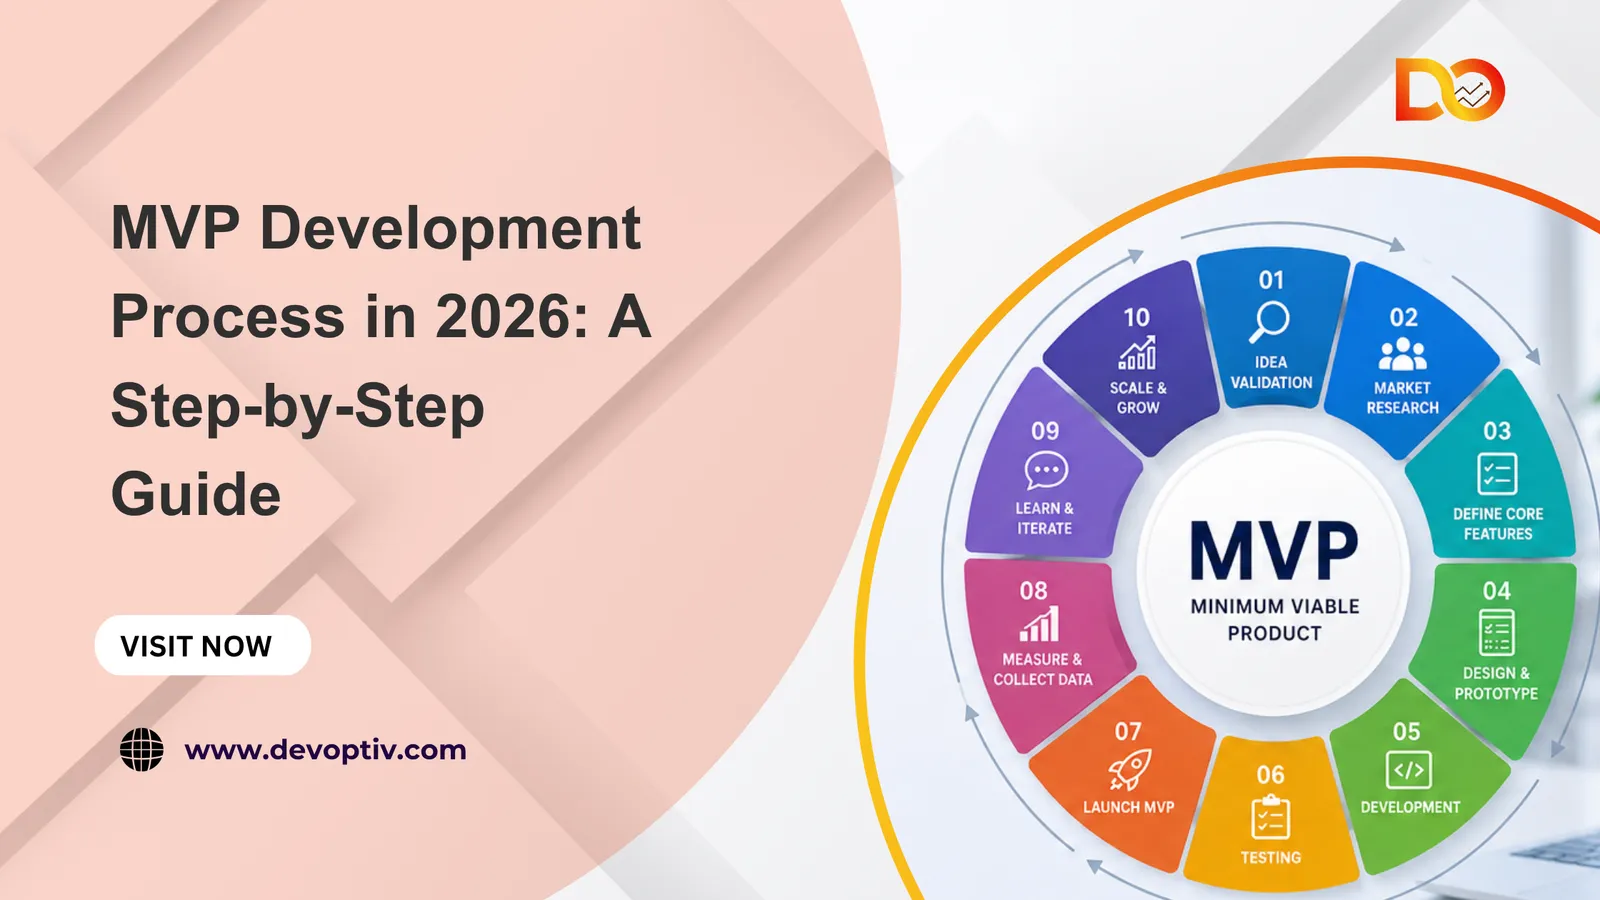
Step-by-Step MVP Development Process
Step 1: Validate Your Idea
Before writing a single line of code, confirm the problem you're solving is real and painful enough that people will change behavior or pay to fix it.
Identify the core problem you're solving. Write a single sentence: "[Target user] struggles with [problem] because [reason], which costs them [time/money/frustration]." If you can't fill that in cleanly, the idea isn't ready to build yet.
Quick validation tactics:
Landing pages describe the product and measure sign-up or waitlist conversion rates before it exists
Pre-orders or "pay to reserve" a much stronger signal than sign-ups, since it involves real money
Surveys and customer interviews talk to 15–20 people in your target segment about the problem itself, not your proposed solution
Smoke tests run small ad campaigns pointing at your landing page to gauge real interest before building anything
The goal at this stage isn't to prove you're right. It's to find out cheaply if you're wrong.
Step 2: Conduct Market Research
Once the problem is validated, zoom out and understand the broader landscape you're stepping into.
Industry trends and demand signals: Is the category growing or shrinking? Are adjacent products gaining traction? Are there regulatory or technology shifts (AI adoption, new platform APIs, changing privacy rules) that make this the right or wrong time to build?
Tools to use:
Google Trends for search interest over time and regional demand
Industry reports from firms like Gartner, Statista, or CB Insights for market sizing and forecasts
App store and marketplace data (App Annie/data.ai, SimilarWeb) to see what's already gaining traction in adjacent categories
Reddit, niche forums, and community groups for unfiltered opinions from your target users
Step 3: Analyze Competitors
Even genuinely novel ideas usually have indirect competitors including "doing nothing" or using a spreadsheet.
Identify direct competitors solving the same problem the same way, and indirect competitors solving the same problem differently (or solving an adjacent problem).
Spot gaps and differentiation opportunities: read competitor reviews (especially 2- and 3-star reviews) to find recurring complaints. Those complaints are often your MVP's most valuable feature ideas.
Map competitors against price, feature depth, and target segment to find where you can realistically win, usually not "do everything better," but "do one thing meaningfully better for a specific audience."
Step 4: Define Target Audience
A product built for "everyone" resonates with no one. Narrowing your audience makes every later decision features, design, and marketing dramatically easier.
Build user personas that go beyond demographics: What's their job or daily routine? What tools do they currently use to solve this problem (or work around it)? What would make them switch?
Understand pain points and behavior: map out their current workflow step by step and mark exactly where the friction is. That friction point is where your MVP should focus its energy.
Step 5: Prioritize Features
This is where most MVPs go wrong, scope creep starts here if you're not disciplined.
List all possible features first, without filtering. Get everything out of your head and your team's heads onto one list.
Then apply a prioritization framework:
MoSCoW sort every feature into Must-have, Should-have, Could-have, and Won't-have (for now). Your MVP ships with Must-haves only.
RICE scores each feature on Reach, Impact, Confidence, and Effort, then prioritizes by the resulting score. Useful when you have several plausible features and need an objective tiebreaker.
Kano Model classifies features as Basic (expected), Performance (more is better), or Delighters (unexpected wins), helping you avoid over-investing in delighters before the basics work.
Must-have vs. nice-to-have: a good test is to ask, "If this feature were missing, would the product fail to solve the core problem?" If the answer is no, it's not in the MVP.
Step 6: Create Wireframes
Before any design polish, map the user's journey through the product at the lowest possible fidelity.
Low-fidelity sketches of user flow boxes and arrows are enough. The goal is to nail down structure and flow, not visuals. This is also the cheapest, fastest point to catch a broken or confusing user journey.
Tools: Figma and Balsamiq are the industry standards Figma for collaborative, more flexible wireframing, Balsamiq for deliberately rough sketches that keep stakeholders focused on structure instead of color and fonts.
Step 7: Design UI/UX
Once the flow is validated, turn wireframes into something closer to the real thing.
Turning wireframes into clickable prototypes: add real interactions, transitions, and enough visual design that testers can react to it as if it were a live product. Tools like Figma support this natively with clickable, shareable prototypes.
Function-first design principles: at MVP stage, clarity beats beauty. Every screen should make the next action obvious. Resist the urge to over-invest in branding and animation before you know the product itself works that polish belongs after validation, not before.
Step 8: Develop the MVP
This is the actual build phase and the point where MVP in web development and MVP in app development paths diverge in tooling, though the underlying discipline is the same.
Choosing your build approach:
No-code/low-code (Bubble, Webflow, FlutterFlow, Glide) fastest and cheapest route, ideal for very early validation, simple workflows, or non-technical founders testing demand before hiring developers.
Custom development is necessary when your product needs specific integrations, complex logic, performance at scale, or a technical moat that no-code tools can't provide.
In-house vs. outsourced teams: in-house gives you tighter control and institutional knowledge but costs more and takes longer to assemble. Outsourcing (freelancers or a development agency) is often faster to start and more cost-effective for a first build, at the cost of some communication overhead and knowledge transfer risk.
Agile/sprint-based development: break the build into 1–2 week sprints with a working, doable increment at the end of each one. This keeps scope honest, surfaces problems early, and means you're never more than two weeks away from a checkpoint.
Step 9: Test the Product
Testing an MVP is just as important as building it right, skipping QA because "it's just an MVP" often leads to misleading feedback, since users abandon products because they're broken, not because the idea itself was flawed. A solid testing phase catches these issues before they distort your data or damage early trust. If you'd rather hand this off, QA outsourcing is a common way founders keep testing rigorous without slowing down the build.
Functional testing - does every core feature do what it's supposed to do?
Usability testing - can a real user complete the core task without getting stuck or confused?
Performance testing - does it hold up under realistic load, and does it feel fast enough to keep users engaged?
Beta testing with real users - release to a small, controlled group before a public launch. This surfaces edge cases your internal team will never find, because real users behave in ways you didn't anticipate.
QA testing types:
Functional testing does every core feature do what it's supposed to do?
Usability testing: can a real user complete the core task without getting stuck or confused?
Performance testing does it hold up under realistic load, and does it feel fast enough to keep users engaged?
Beta testing with real users: release to a small, controlled group before a public launch. This surfaces edge cases your internal team will never find, because real users behave in ways you didn't anticipate.
Step 10: Launch
Soft launch vs. full launch: a soft launch releasing to a limited audience or geography first lets you catch problems at a smaller scale before a full public release. A full launch commits to broad visibility immediately, which makes sense when you need momentum (e.g., a funding announcement) but raises the stakes if something breaks.
Pre-launch checklist:
Analytics and event tracking fully wired up
Support channels (email, chat, or a simple form) ready to handle first users
Payment and onboarding flows tested end-to-end
A rollback plan if something critical breaks post-launch
Launch platforms: Product Hunt for tech-savvy early adopters and initial buzz, the App Store or Google Play for mobile products, and direct outreach cold email, community posts, or your existing network for more targeted, controllable early traction.
Step 11: Gather Feedback
The launch isn't the finish line, it's where the real learning starts.
Feedback channels: in-app surveys, one-on-one user interviews, support tickets, app store reviews, and behavioral analytics all tell you different parts of the story. Qualitative feedback explains the why; quantitative data confirms the how often.
Key metrics to track:
Engagement how often and how deeply users interact with the core feature
Retention what percentage of users come back after day 1, day 7, and day 30
Churn the rate at which users stop using the product entirely
Retention, more than sign-ups or downloads, is usually the clearest signal of genuine product-market fit.
Step 12: Improve and Scale
Iteration cycles: treat every post-launch sprint like another round of the same process and prioritize the next set of features based on real feedback and data, not internal opinion.
Deciding: pivot, persevere, or scale:
Persevere if engagement and retention are trending positively keep refining the current direction.
Pivot if users are engaging with an unexpected part of the product, or if retention stays flat despite iteration that's often a sign the core assumption needs to change, not just the execution.
Scale once you have consistent retention and a repeatable way to acquire users profitably this is the signal that it's time to invest beyond the MVP.
Moving from MVP to full product: this typically means investing in the "nice-to-have" features you deliberately deferred, hardening the architecture for higher scale and reliability, and expanding the team to support faster iteration.
That's the full 12-step MVP development process, from validating your riskiest assumption to deciding whether to persevere, pivot, or scale. Following it in order won't guarantee success, but it dramatically improves your odds of building something people actually want. If you'd rather have an experienced team guide you through each of these steps, our MVP development services walk you through exactly how to build a profitable MVP from a validated idea to launch.
Why the MVP Development Process Matters
Skipping structure and "just building" is the single most common mistake early founders make. A defined MVP development process matters because it:
Forces you to validate assumptions before you commit engineering time to them
Keeps scope disciplined so you actually ship something small and testable
Creates a repeatable framework you can reuse for every future feature or product
Reduces the odds of becoming another "poor product-market fit" statistic
Aligns founders, designers, and developers around the same sequence of decisions, instead of everyone guessing independently
With that foundation in place, here's the full step-by-step process.
MVP Development Process Examples
Some well-known products started life as intentionally minimal MVPs before becoming the platforms we know today:
Dropbox launched with just an explainer video showing how the file-sync concept would work — no working product yet — and used signup numbers to validate demand before building.
Airbnb's founders started by renting air mattresses in their own apartment and manually managing bookings, testing whether strangers would actually pay to stay in someone's home.
Zappos began by posting photos of shoes from local stores online; when someone ordered, the founder bought the shoes at full price and shipped them himself, testing demand before building any inventory or logistics.
Buffer launched with a simple landing page describing the social media scheduling tool, collecting emails before a single feature was built.
MVP Development Timeline
Timelines vary by product complexity, but a realistic MVP development process for a small-to-mid complexity product typically breaks down like this:
Phase | What Happens | Typical Duration |
Discovery Phase | Idea validation, market research, competitor analysis, audience definition, feature prioritization | 2–4 weeks |
Design Phase | Wireframes, UI/UX design, clickable prototype | 2–3 weeks |
Development Phase | Core build in agile sprints | 6–12 weeks |
Testing Phase | QA, functional/usability/performance testing, beta testing | 2–3 weeks |
Launch Phase | Pre-launch prep, soft or full launch, initial feedback collection | 1–2 weeks |
Total: roughly 3–5 months for a typical web or mobile MVP, though a very simple, no-code MVP can move much faster (as little as 4–6 weeks), while a complex, highly technical product (deep integrations, AI features, regulated industries like fintech or healthtech) can take 6+ months.
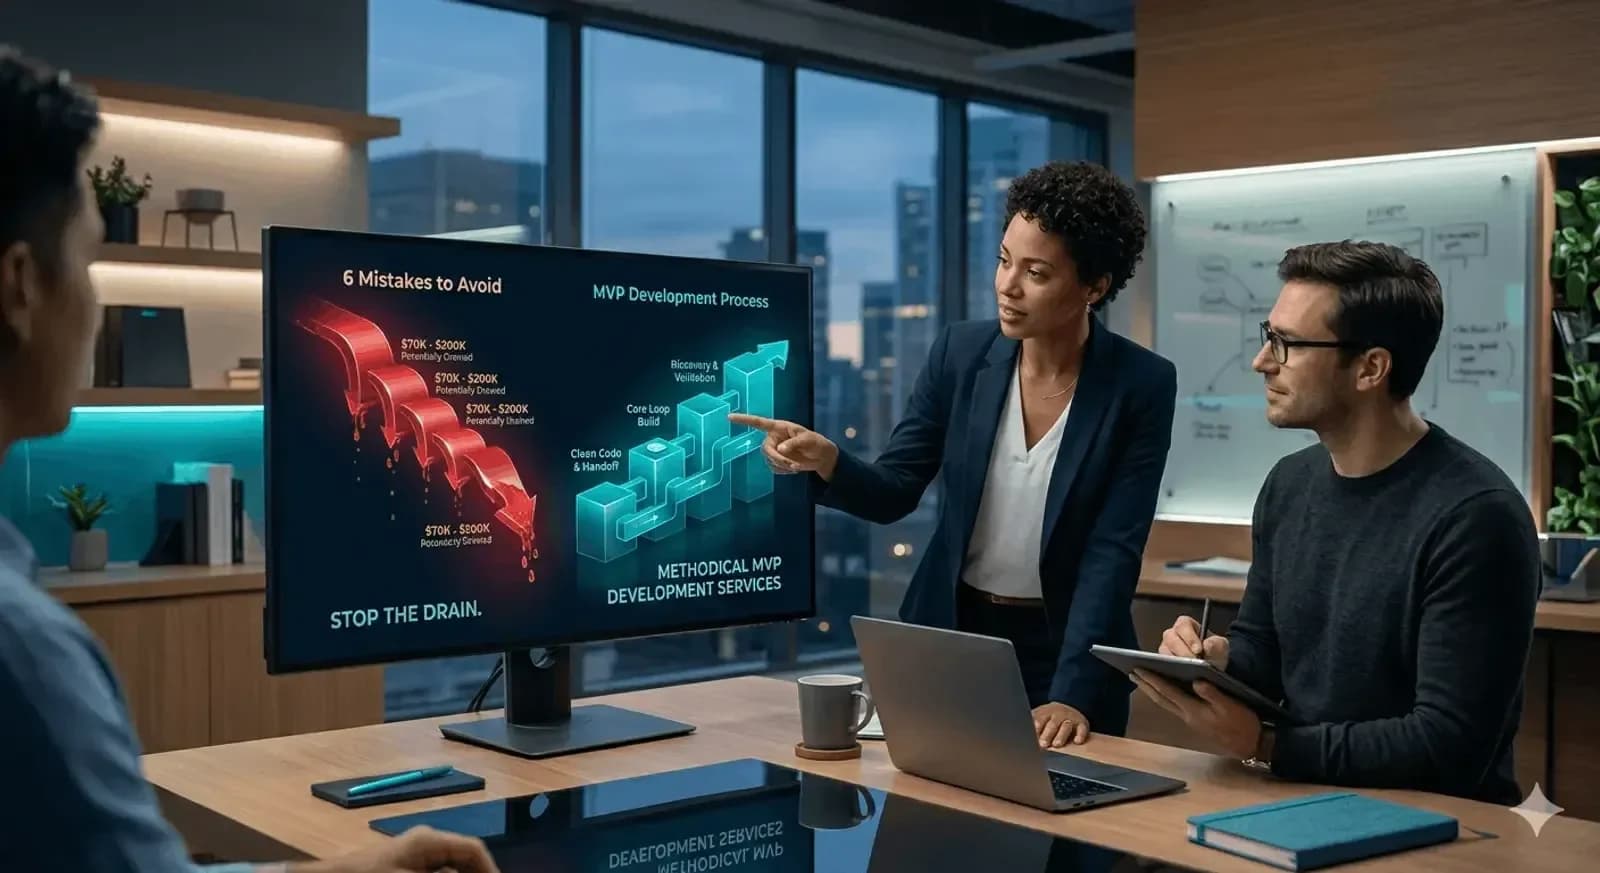
MVP Development Cost
Cost depends heavily on complexity, team structure, and geography, but here's a general reference range. For a full breakdown of how these numbers are calculated, see our complete guide to MVP development cost.
Approach | Typical Cost Range | Best For |
No-code/low-code MVP | $2,000 – $15,000 | Very early validation, simple workflows, non-technical founders |
Outsourced development (offshore/nearshore agency or freelancers) | $15,000 – $60,000 | Most early-stage startups needing custom functionality on a budget |
Outsourced development (specialized/US or Western Europe-based agency) | $50,000 – $150,000+ | Startups needing higher-touch collaboration or complex, regulated products |
In-house team build | $80,000 – $250,000+ | Well-funded startups planning rapid, ongoing iteration post-launch |
Key cost drivers include the number and complexity of core features, whether you need native mobile apps versus a single web app, third-party integrations (payments, maps, AI APIs), design complexity, and your chosen team's location and rate structure.
As a rule of thumb, every feature you cut at the MoSCoW/RICE prioritization stage in Step 5 directly reduces both cost and time to launch which is the entire point of building an MVP in the first place.
Conclusion
The MVP development process isn't a shortcut, it's a discipline. It forces you to validate before you build, prioritize ruthlessly, and let real user behavior not internal assumptions decide what gets built next. Given that a large share of startup failures trace back to building something the market never actually needed, that discipline is arguably the single highest-leverage thing a founder can practice.
Whether you're exploring MVP in web development, planning an MVP in app development, or shaping MVP in business strategy at a larger organization, the 12-step framework above validate, research, analyze, define, prioritize, wireframe, design, develop, test, launch, gather feedback, and iterate gives you a repeatable path from idea to a product people actually want.
If you're ready to move from outline to execution, the next step is simple: pick your riskiest assumption, and find the fastest, cheapest way to test it this week. If you don't want to build your MVP alone, Devoptiv can help. Our MVP development services guide you from idea validation to a working product while avoiding common mistakes, unnecessary costs, and project delays.